

As promised, here is the full review of my New Wifi SD Card. The infamous Eye-Fi Card. I know it’s too much delayed. But couldn’t help it as my laptop broke the day I was supposed to upload it and today only I got it fixed.
Anyways, before we talk about how easy or difficult it was to configure the card and what all it can do, lets quickly recap what exactly is it.
What’s Eye-Fi?
Google and you will know. Still to save some of your effort. It’s a SD card with an inbuilt wifi adapter.
What All it can do
- Directly send your photos from your camera (of course if and only if you have this card inserted in your camera) to your PC over wifi
- Directly send your photos from your camera to any of the popular photo sharing website like Picasa or Flicker, but you need to have. Your wifi network should have internet 😉 .
What it can’t do, — officially–. (But people think it can)
- Act as a wireless file server
- Sync ‘non picture’ data between the card and the PC
- Act as a web server
The first Setup
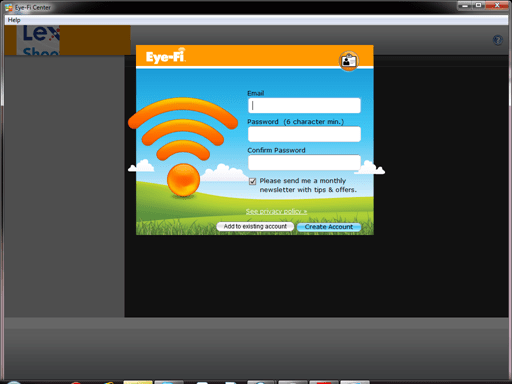
Step 1: Install the Eye-Fi Center from the internet and register yourself. For this you have to insert the card to the machine from where you are running the Eye-Fi Center application. The software should automatically detect that it’s a new card and present you the registration page instead of the login page

Step 2: If required the Eye-Fi center will update the firmware.
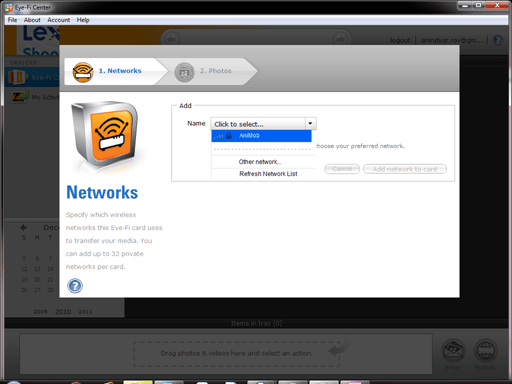
Step 3: Select the wifi network with which you want to connect it

Step 5: Yes! This tiny stuff supports WPA Encryption. Give your key here

Step 6: Select to which all site you want to upload your photos to.
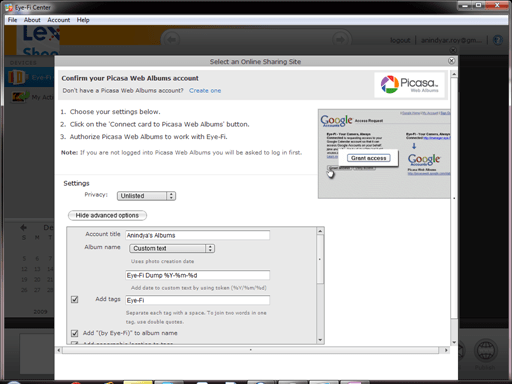
Step 7: Customize the upload type depending on the site
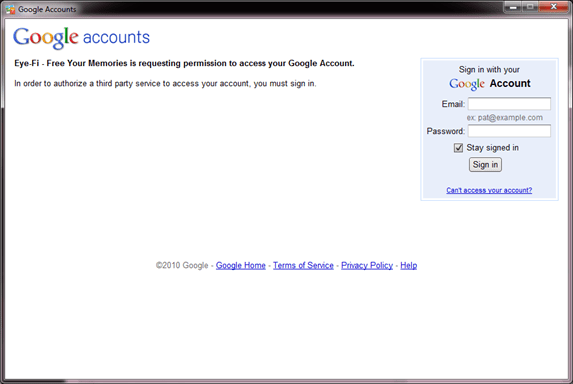
Step 8: authenticate its access to the photo sharing website
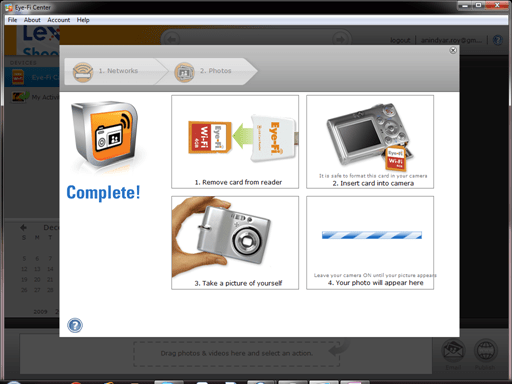
Step 9: and you are done
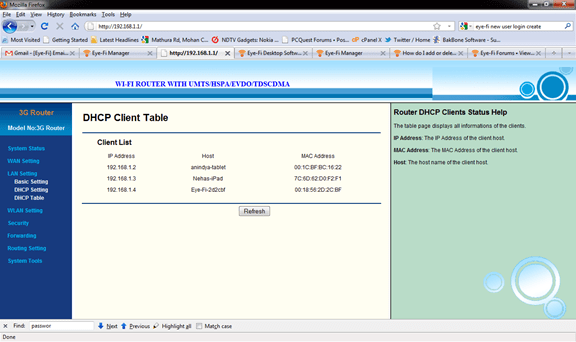
Step 10: It should now get IP from your Wifi Router. The name of the device should be Eye-Fi-<some number>
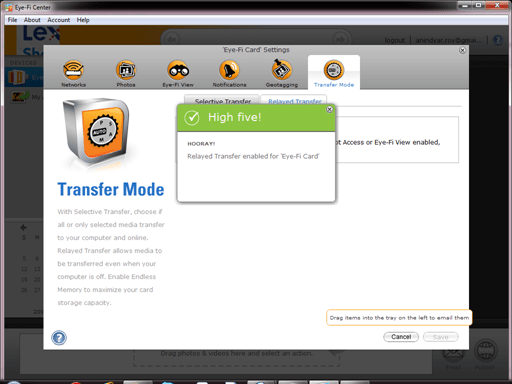
Step 11: enable relayed transfer if you want the online update to happen independently without the intervention of the PC running Eye-Fi Center. If its not enabled, then the online transfer will only happen via the PC running Eye-Fi center application.
Wasn’t it too simple? And yes, it works!
But Watch Out for
- If you can configured relayed transfer it’s going to continuously upload photos whenever you click one. So if you don’t have an unlimited data connection, you might end up receiving a good internet bill!!
- You will indeed need a data connection with good upload speed else you have to leave your camera on for quite some time to make sure the photos are uploaded. Which will kill your battery soon.
- THIS DEVICE IS A BATTERY HOG!! IT CAN REDUCE YOUR CAMERA’S BACTTERY BACKUP UPTO 3 TIME. SO USE GOOD BATTERIES!! IT WAS ENOUGH TO DRAIN 4 NEW DURACELL BATTERIES IN AROUND 2 HOURS OF USE WHICH GENERALLY USED TO LAST FOR ATLEAST 6 HOURS IN THE SAME CAMERA WITH REGULAR SD CARDS
PS: Now you know why I went to buy new rechargeable batteries. http://wp.me/p1eYzy-s

Leave a comment